Development
Part 2 // Manhole Monsters: An Introduction to Augmented Reality in iOS

Part 2: Anchoring the Model
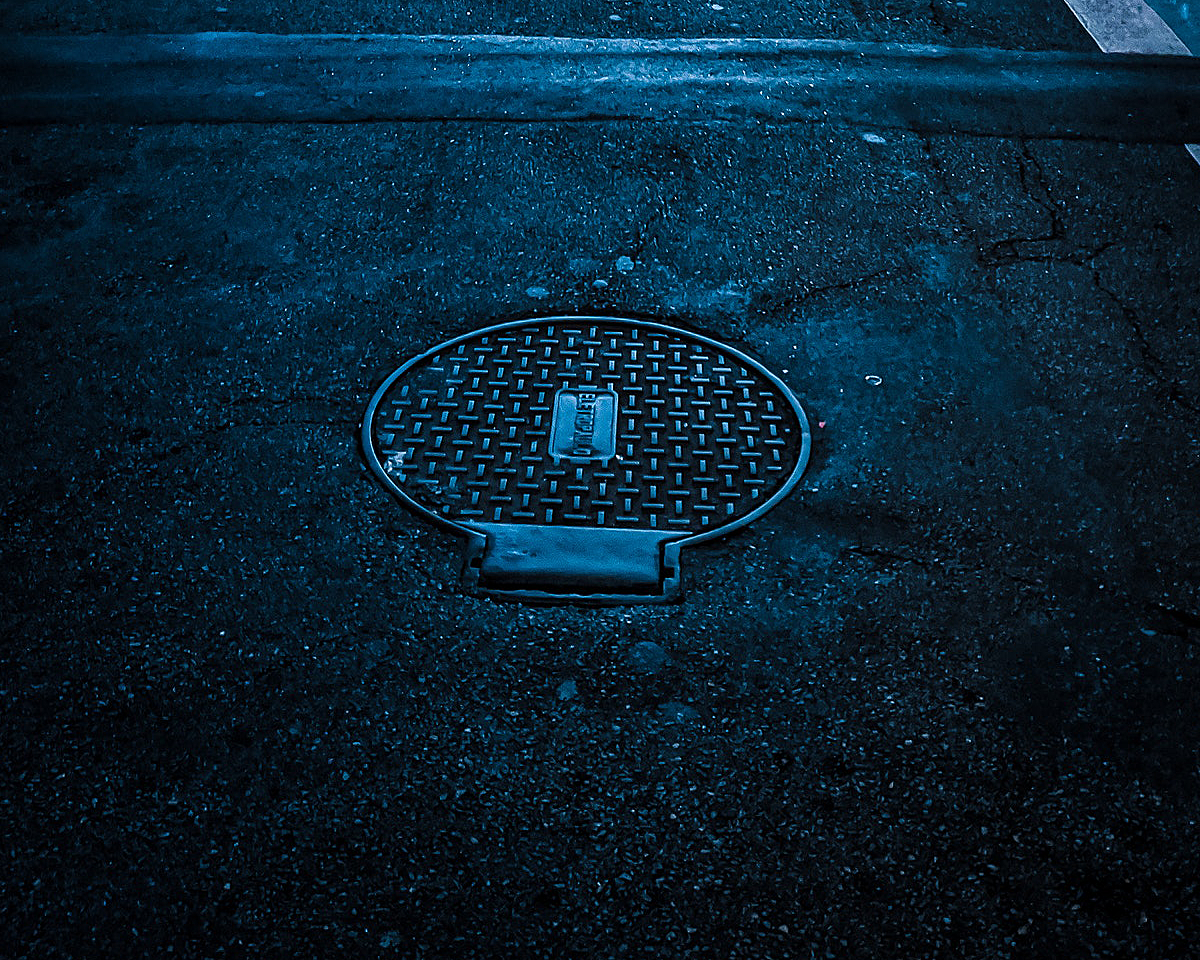
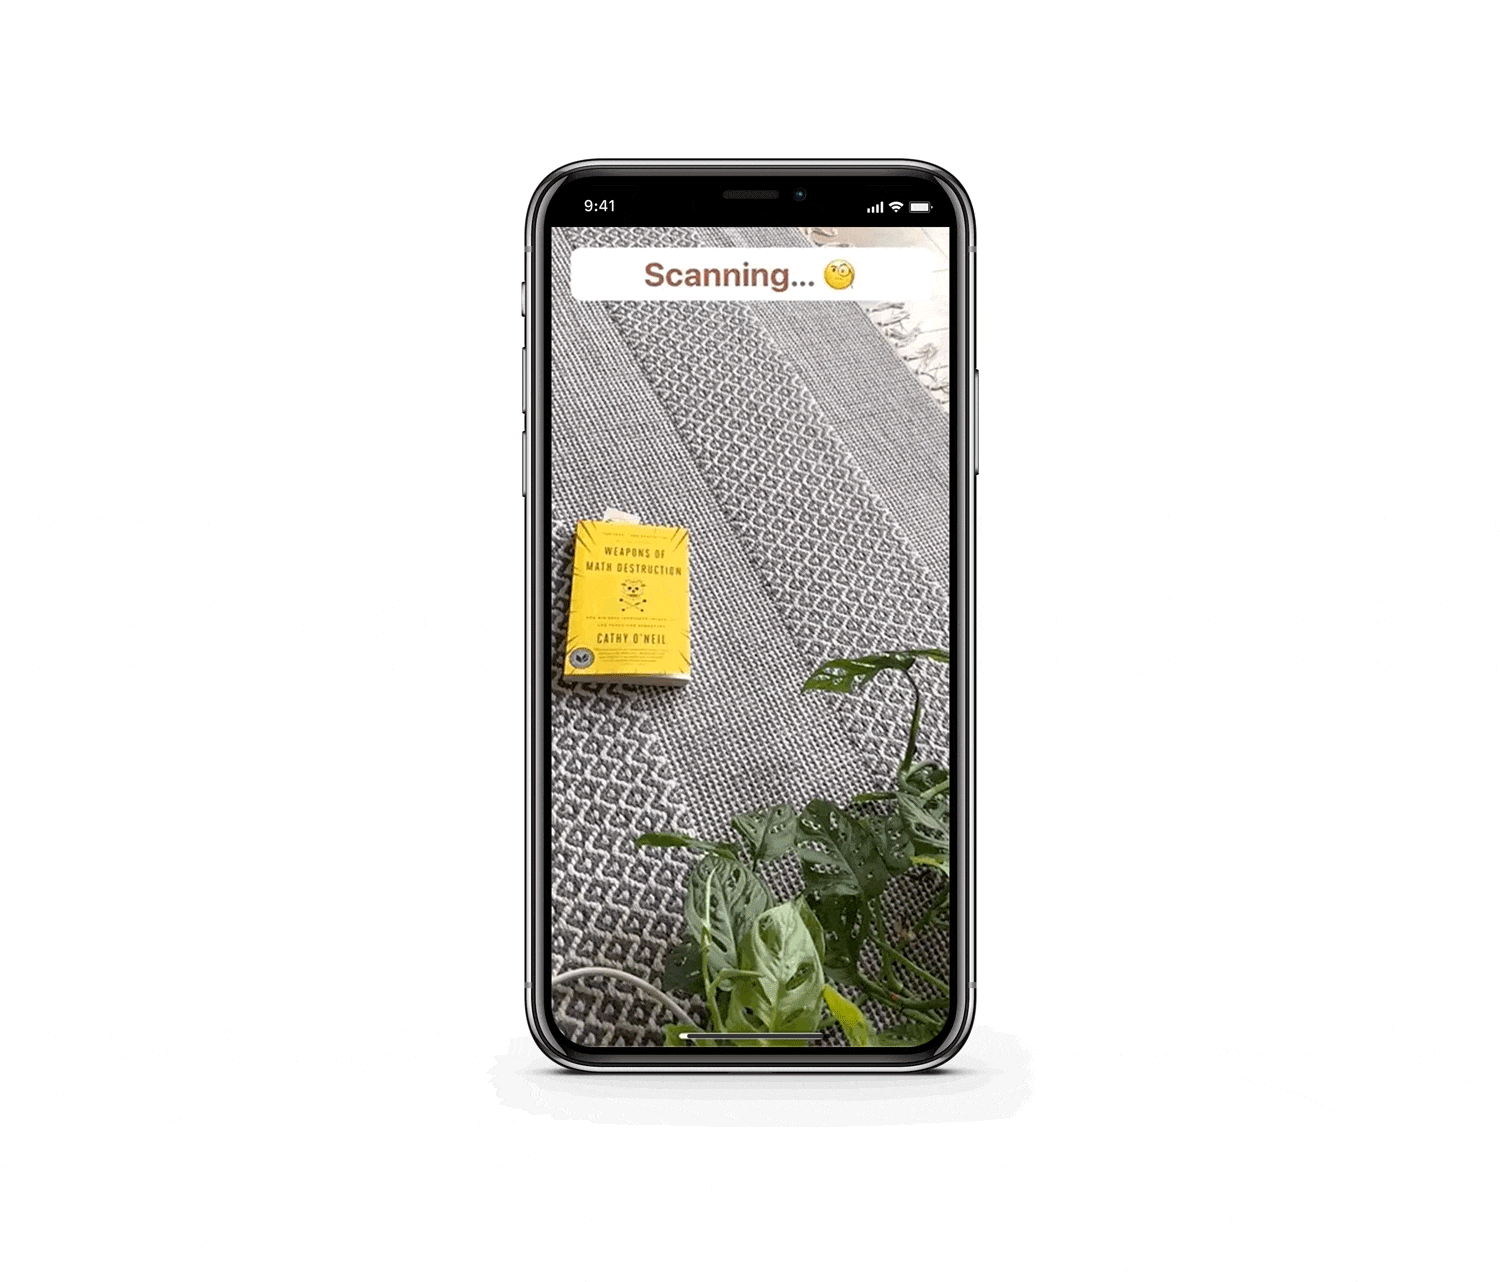
Welcome back! In Part 1 of this series, we introduced our challenge: placing animated 3D objects on custom objects in the real world while using Core ML to find custom objects. Now, in Part 2, it’s time to place them.
RealityKit - Reality Composer
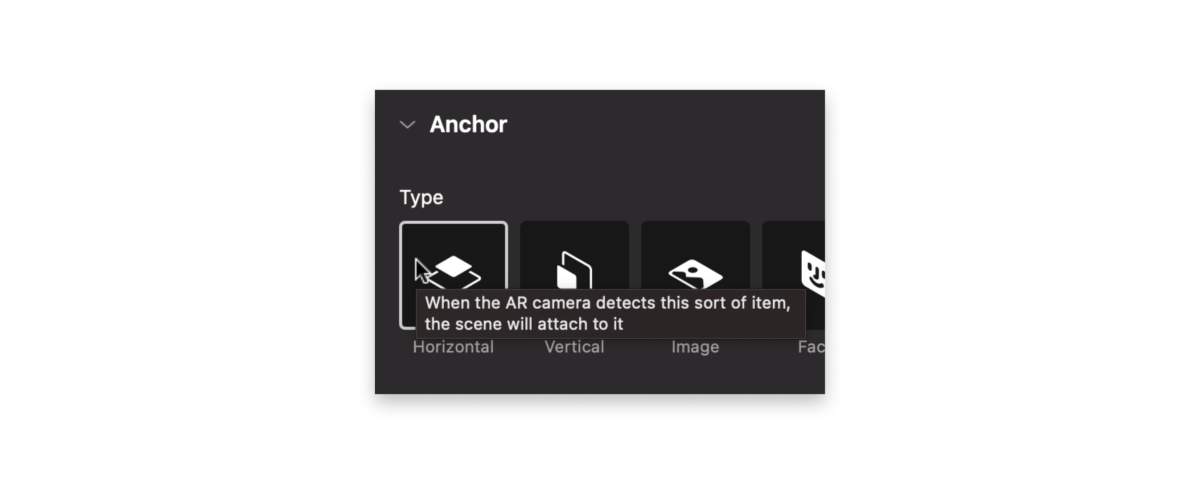
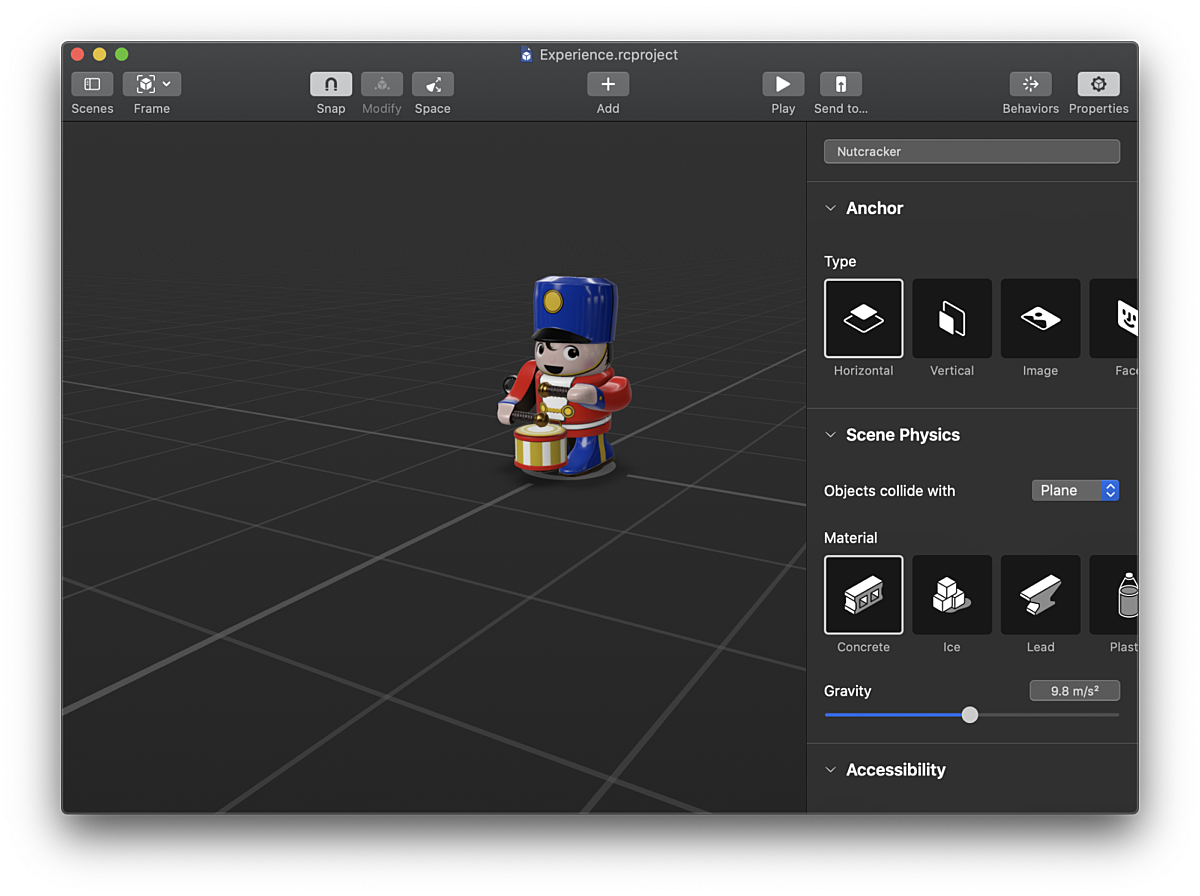
Reality Composer is a tool that offers an interface in which to create, manipulate and customize AR experiences. Out of the box, Reality Composer comes with an impressive collection of customizable assets. It’s also possible to import your own, provided they’re of file type `usdz` (conversion instructions here), and use them to curate your AR experience. Start off by selecting how you might like to anchor your scene, then you can position your scene however you might like. The option of adding sound effects or animation according to user interaction is also possible simply by using this interface. It’s easy to test how the scene looks on a device, provided it supports ARKit since Reality Composer allows you to sync your session on your Mac with your iOS device.
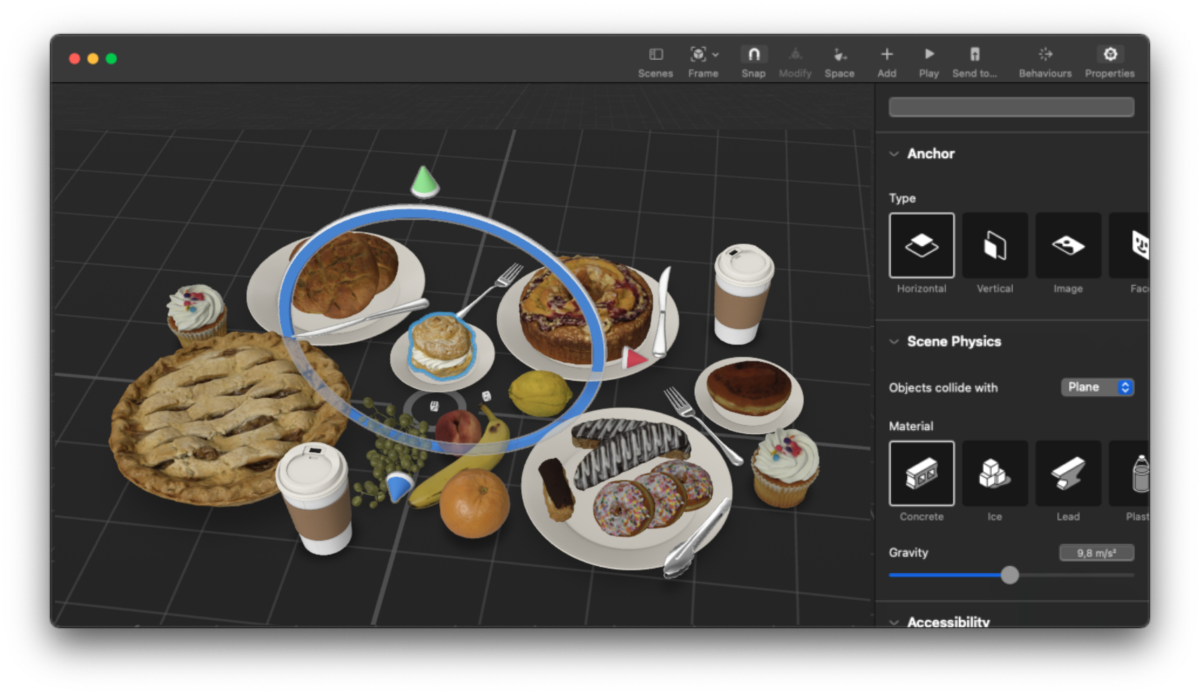
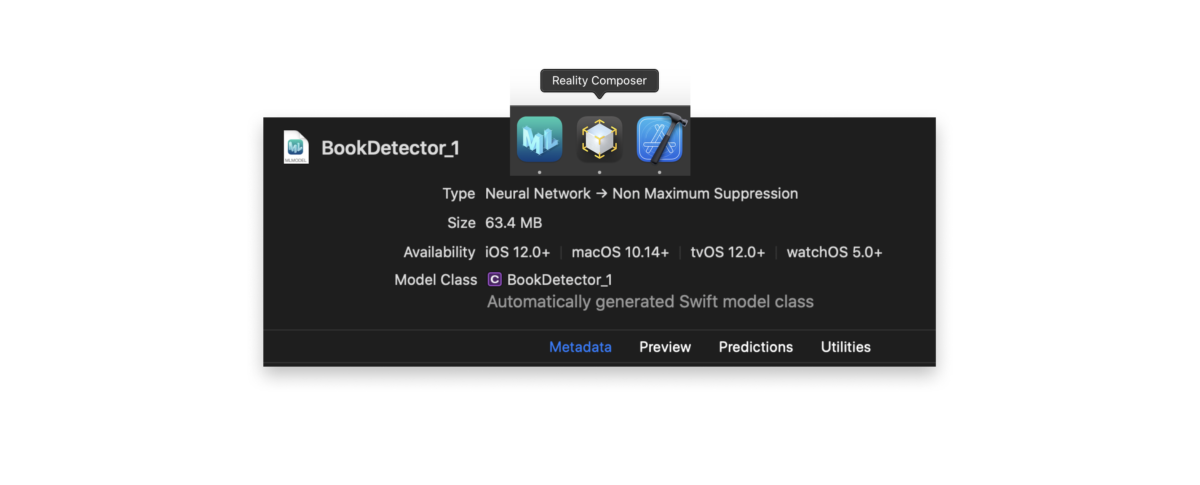
One really cool feature is the ability to add behaviors to objects in your scene, making them interactive, without writing any code. You can trigger behaviors off a host of common situations, including tapping an object, getting within a certain distance, colliding the object with another object, or custom triggers the developer defines. Some of the behaviors that these triggers can cause are moving, scaling, or animating the position of an object, triggering a predefined USDZ animation, or changing the scene entirely. These built-in functions can get you pretty far.
RealityKit - Placing a 3D Model
extension ARView {
  @discardableResult
  func raycastAndPlaceObject(realityKitModel: Experience.Nutcracker, point: CGPoint) -> Bool {
    let scaledPoint = CGPoint(x: point.x * bounds.width, y: point.y * bounds.height)

    guard let raycastQuery = makeRaycastQuery(from: scaledPoint, allowing: .estimatedPlane, alignment: .any) else {
      print("failed to make raycast query")
      return false
    }

    guard let result = session.raycast(raycastQuery).first else {
      print("no raycast found")
      return false
    }

    let transformation = Transform(matrix: result.worldTransform)

    let raycastAnchor = AnchorEntity(raycastResult: result)

    realityKitModel.generateCollisionShapes(recursive: true)
    realityKitModel.transform = transformation
    raycastAnchor.addChild(realityKitModel)

    self.scene.addAnchor(raycastAnchor)

    return true
  }
}
Note that this operation doesn’t always succeed, because, behind the scenes, RealityKit may not have figured out surfaces, planes, and objects in the real world. We suspect that if you were using the new iPhone or iPad, the detailed depth information provided by the LiDAR Scanner would really help out.
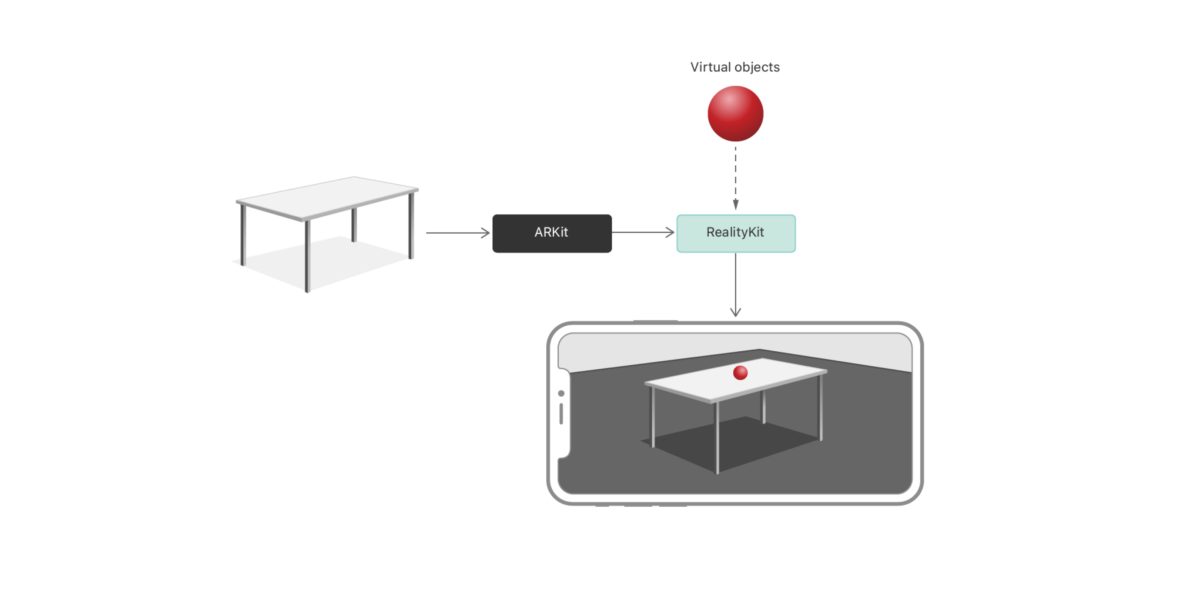
And there you have it! We found a new object in the camera feed, used RealityKit to find its 3D location, and anchored our Reality Composer model to it.

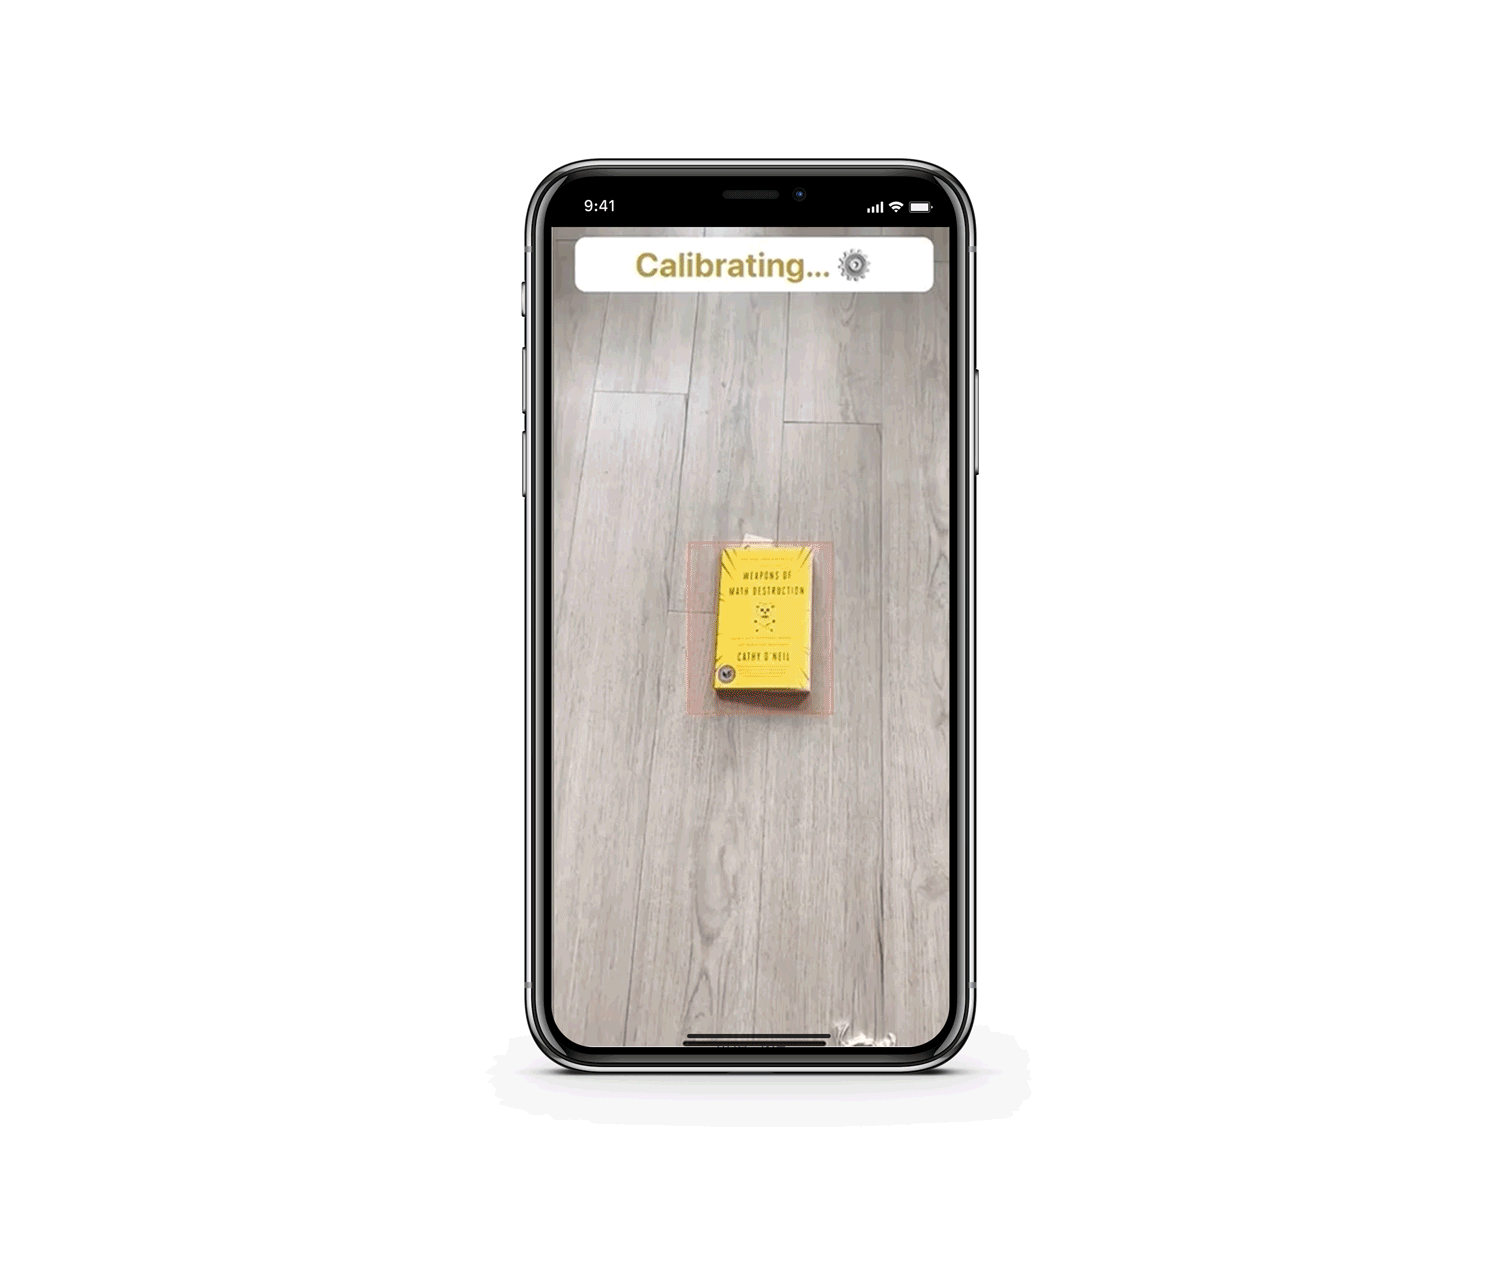
One thing we noticed is that objects lose their relevance once you get far enough away from them, especially if you’re on a walk and the placed object might be behind a building or out of sight. Reality Composer surprisingly doesn’t provide a trigger to remove an object when it gets a certain distance away, so we had to hook up that logic ourselves. Check out the demo above to see how well it works.
func session(_ session: ARSession, didUpdate frame: ARFrame) {
 // Remove the model from the scene if it has been placed and is over 5 meters away.
  if
    let scene = view?.scene,
    let anchor = scene.anchors.first
    {
      let cameraPosition = frame.camera.transform.columns.3
      let anchorPosition = anchor.transform.matrix.columns.3

      let cameraToAnchor = cameraPosition - anchorPosition
      let distance = length(cameraToAnchor)

      if distance > 5 {
        print("Removing model.")
        parent.scanningState = .scanning
        return
      }
   }
}
Conclusion
Next week, we'll share our final installment in the Manhole Monster series: exploring building out a basic user interface using Swift UI and exploring the challenges around accessibility in augmented reality.
Tags:

David Sklenar (he/him)
Senior Developer
David is a software developer with over 10 years of experience. He’s spent most of that time developing iOS apps (most recently at Nike) and has used technology to solve problems in poetry publishing, medieval architectural history, cardiac health, and digital storytelling. More recently, he’s become interested in machine learning and its applications and implementation. He most enjoys the collaborative and social nature of software development and the endless opportunities for learning.

Lemon Garrett (they/them/she/her)
Developer, Substantial
A bit of a renaissance person, Lemon spent eight years as a traditional artist before eventually transitioning into a career as a software engineer, and found their way to Substantial in October 2019. As a full-stack developer, Lemon is a steadfast accessibility advocate and a zealous promoter of diversifying the tech industry in pursuit of creating and maintaining a more inclusive, supportive environment. Passionate about leveraging their knowledge in order to help make web and mobile apps universally accessible, Lemon is constantly seeking new, straightforward ways to integrate accessibility best practices into their teams’ workflows and approach to development.